Here are my Top 10 Secrets to Baking Gluten Free Bread with yeast. There are tons of free gluten free bread recipes here on the blog, but the best place to start is right here, with these secrets.
Once you understand how to make gluten free bread successfully, you’ll be ready to select your first recipe and get started with confidence.
Secret #1: No substitutions
Try to avoid making any substitutions the first time you make a gluten free bread recipe, especially one which is unfamiliar to you. If you have chosen a recipe that you can only make with substitutions, select another recipe.
Whenever a reader tells me that they are having trouble with a recipe, my first question is always whether they have made any substitutions. Some may work, but many will not. And early failure will make it very hard to stay motivated.
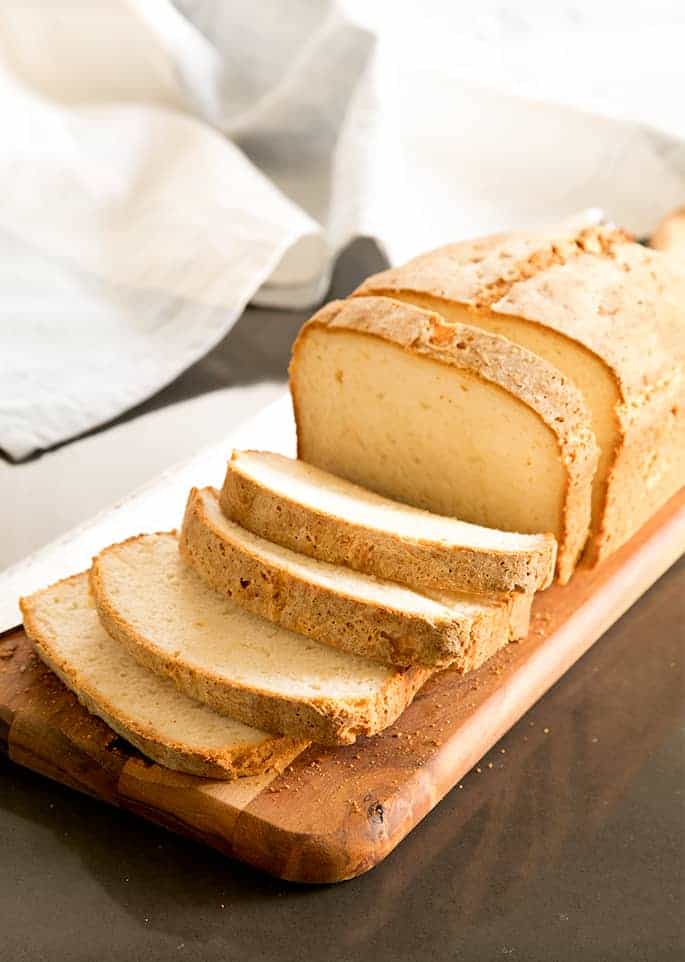
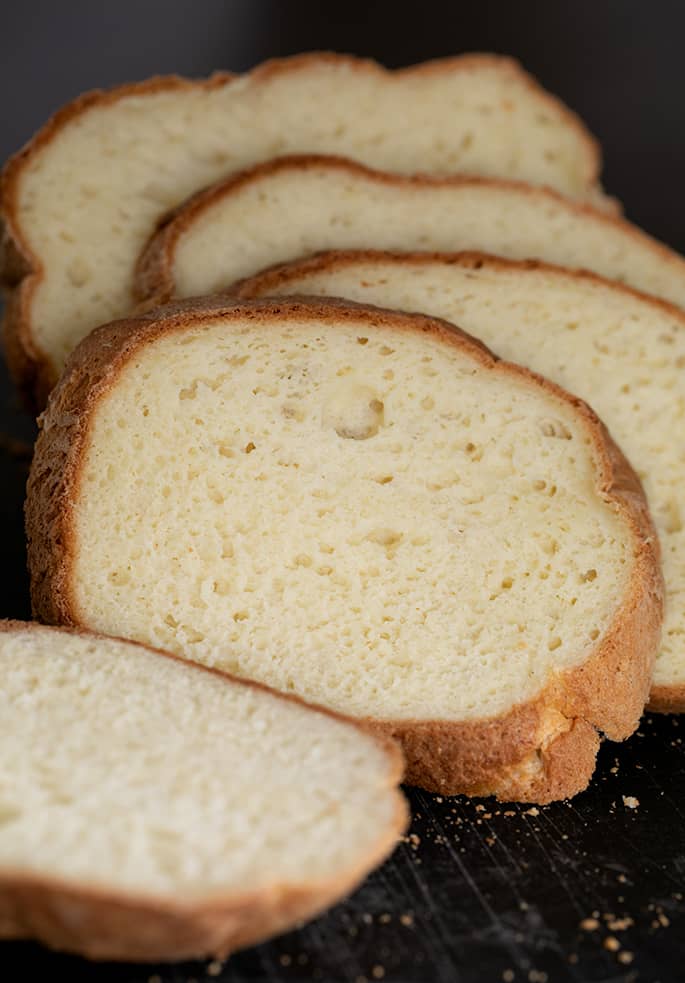
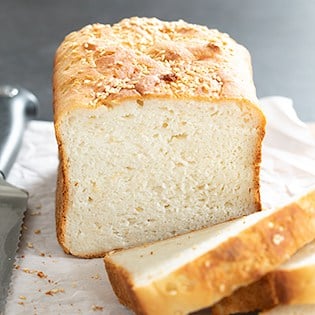
The easiest gluten free bread recipe to begin with is the recipe for the gluten free white sandwich bread recipe from my first cookbook. I posted it on the blog when the second edition of the book was published.
It’s a super simple recipe, and since there’s a video above, you can even look over my shoulder as I make it first. It’s pictured right below this paragraph, and if you click the photo it will link you right to the recipe.
Secret #2: Bake by weight.
Bake by weight, not volume. Proper proportions make the difference between success and failure. A serviceable scale is totally cheap, and easy to use. I recommend this one (affiliate link).
To use a digital scale, simply finish measuring one ingredient, and hit “tare.” It zeroes out the scale. Ready for the next ingredient, in the same bowl. Precision, easily.
In all of my recipes, 1 cup of all purpose gluten free flour weighs 140 grams. Don’t bother trying to see if the measuring cups you have in your kitchen match their volume to my weight measurements.
There is tremendous variation in volume-based measuring tools like cups and spoons, and user error is simply unavoidable. That’s the whole reason to use a scale.
Secret #3: Don’t double
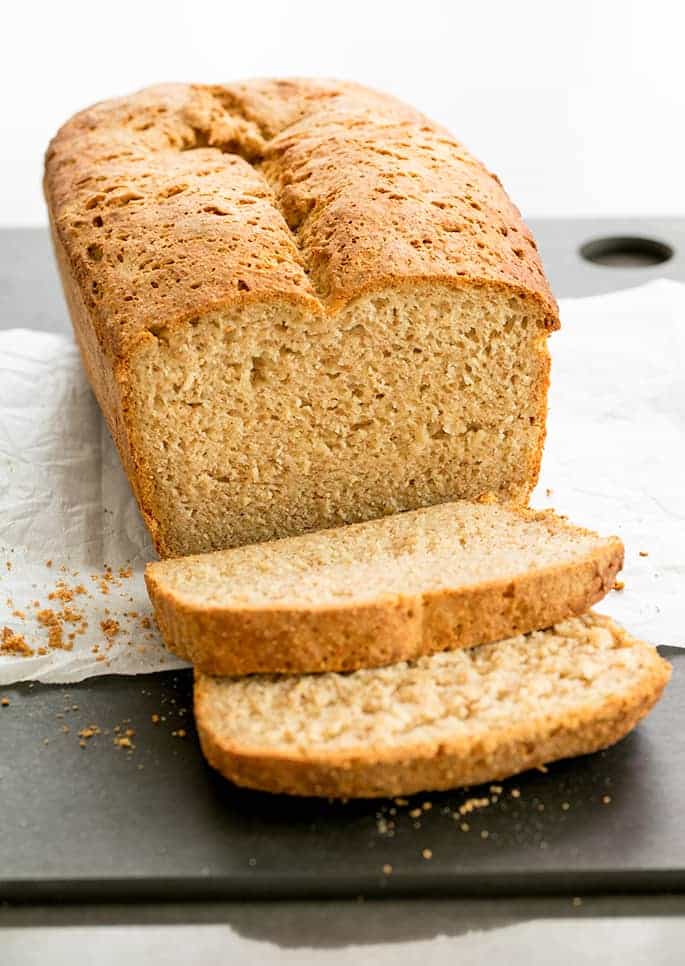
Don’t double a recipe for gluten free yeast bread to make twice as much, if it’s made in the batter style like our recipe for Japanese milk bread, pictured just below. To see that recipe, just click the photo.
However, the yeast bread recipes in my bread book (GFOAS Bakes Bread) can be doubled. Everything is new and better!
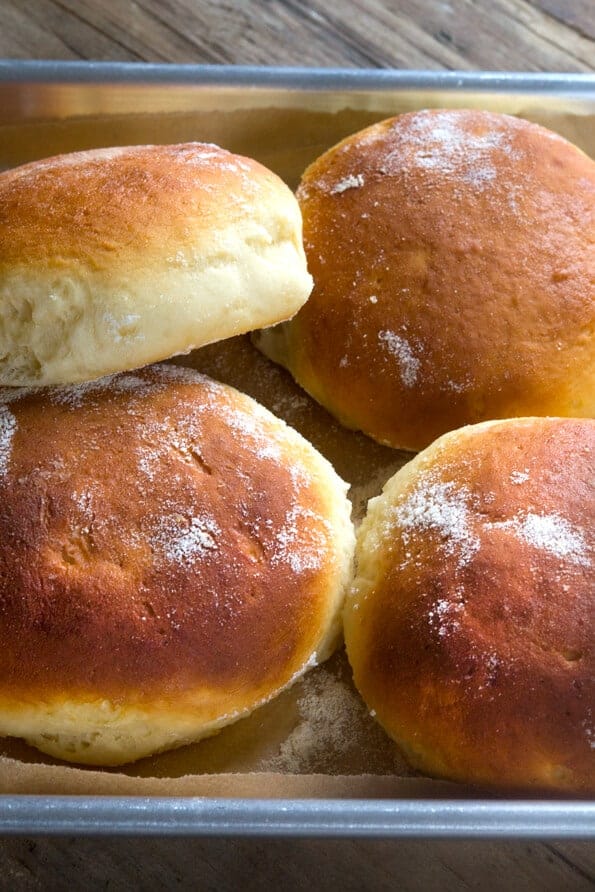
But when it comes to any gluten free bread recipes that make a batter-style bread like the white sandwich bread, don’t double. But the recipes made with gluten free bread flour, like our Hawaiian rolls at the top of the page, can be doubled with confidence.
Secret #4: Beat well
Gluten-free bread dough needs to be mixed vigorously. The best way to do it is with a stand mixer. Don’t have one? Do it by hand, and put some elbow grease into it. You can try using a hand mixer with dough hook attachments, but not with balloon whisk attachments.
And don’t worry about over-mixing. There’s no gluten to ‘overwork.’ If your end result has a really tight crumb and seems crumbly, it’s not that you overworked the dough. Your hydration level was likely too low.
The yeast bread recipes in the new bread book require a dough hook, just like traditional, conventional gluten-containing breads. Don’t have a stand mixer? No problem. A 5-speed handheld mixer, with dough hook attachments, will work great!
Secret #5: You need the gums
Don’t try to bake bread without any gluten substitutes, like xanthan gum. When yeast gives off carbon dioxide during the baking process, gluten acts like a cloak and suspends the bubbles.
That allows the bread to bake around the air pockets. No gluten, and no gluten-substitute? No cloak, and nothing to “hold” the rise.
What about psyllium husk?
Psyllium husk is a form of fiber (think: Metamucil) that has become relatively popular in gluten free bread baking as a replacement for xanthan gum. I’ve tried it, and I simply haven’t found a way to use it that produces a bread product that I like to eat.
Psyllium husk makes gluten free bread that looks great, and is easy to handle. But I find it has a strange taste and a strange aftertaste. Since bread’s highest and best use is eating, those are deal-breakers for me.
When America’s Test Kitchen came out with their first gluten free bread recipes, they asked me to endorse them. I worked my way through some of their basics, which included a heavy reliance on psyllium husk.
It does behave similarly to xanthan gum, and is even more effective for breads because it’s even more hydrophilic (water-loving). And yes, I used the brand of psyllium husk that they recommend.
I promise you’ll be the first to know if I change my opinion of baking bread with ground psyllium husk. I wonder if I might prefer it used in smaller amounts, and with whey protein isolate, which I use in my gluten free bread flour.
Secret #6: Bake it right.
Use a simple oven thermometer to gauge your oven’s baking temperature properly. Most ovens are calibrated improperly, and off by around 50°F. Yup. That much. One of mine is typically off by about 75°F!
Don’t bother calibrating it. It will just get out of whack again. Use an oven thermometer. Easy, cheap – essential. Bake bread in a too-hot oven, the outside will bake before the inside has a chance to develop enough structure to support it, and it will cave as it cools.
Secret #7: Don’t give up.
Don’t give up if your first loaf of bread isn’t perfect. It’s a skill. It builds with experience.
And even if the loaf isn’t gorgeous, it probably still tastes great. I bet you don’t take pictures of your food like I do. So just carry on!
Secret #8: Proof is the in proofing.
Create the right environment for bread proofing. If you can swing it, consider a Brod & Taylor bread proofer. It’s amazing the even rise you can get in this little box of heaven. I got mine for free (I was a ‘tester’), but I would have bought it. No question.
If you can’t swing it, use my tried and true microwave-as-bread-proofer method. I used it for years and years, with good results.
Secret #9: Don’t freelance.
Do not “throw a bunch of flours” into a bread recipe and expect it to turn out. And use instant yeast. No need to proof it as long as it’s comfortably within its freshness date.
If the bread didn’t rise, it’s very unlikely that the problem is the yeast. Trust me.
Secret #10: Keep perspective.
If you use a prepared mix and follow the directions, but the bread doesn’t turn out—it’s not. your. fault!
[These links contain affiliate codes that help me earn a small commission, at no additional cost to you. Every single product I recommend is one I truly believe in and, where appropriate, have purchased myself!]





Vicki says
Do you ever make your bread in a bread maker? I have a new one for my daughter and tried it once, it didn’t turn out, so I haven’t used it since.
gfshoestring says
I do not use or recommend bread makers, Vicki. I find that they produce inconsistent results, take up too much space (and money) and make an awkward loaf of bread.
Nicole
Katie Williams says
Your recipes rock! I’ve nominated you for a versatile blogger award, come on over and check it out: chemegirlcooks.blogspot.com
Jonie Spetter on Facebook says
OK. I’m buying a thermometer and scale this weekend and using your microwave-as-bread-proofer method. Plus I found a local store that carries Better Batter Flour. I’ll let you know of my success! Thanks for giving me hope again.
Corlissa says
So far I have had great success with making GF bread! Only one flop- and it was when I attempted to double a loaf recipe. One loaf turned out perfect, the other did the gummy thing that I find typical in store-bought GF bread. It is about to become crutons or bread crumbs…
I dont use commercial flour blends, I make my own based on what I am feeling like. Usual ratio is about 1/3 starches, 1/3 rice, 1/3 other flours. If a recipe calls for specific flours- I will follow it to a T. My dough regardless of the blend or recipe seems to turn out pretty uniform in texture- only recipes that I have trouble with are for pizza dough and pancakes. Still looking for ‘my’ recipe.
I dont use a proofing box- but I do shut all my doors and windows and I turn on my humidifier when I am setting my bread out to rise.
I shared a bread recipe with a friend as well as a few slices- she has tried making it and hers turns out very eggy every time. Mine does not. We havent figured that one out.
Funny part is that before I had to go GF, the art of bread making was something that eluded me.
Nicole says
Glad you’re having some much success, Corlissa. :)
xoxo Nicole
Linda H says
Nicole,
Do you use instant yeast in all of your recipes? Is there a time when regular active dry yeast is called for? I guess I’m asking if I should have both on hand.
Thanks much sharing your tips. I’m making my first gf loaf this weekend. :-)
Nicole says
Hi, Linda,
Yes. These days, I always use instant yeast. I do always have active dry yeast on hand, but mostly because I bought a ton of it and I hate to waste.
xoxo Nicole
Ligea says
An Alton Brown quote that has kept me going in the GF baking world: “If it’s not baking right, start another loaf.” Wish I could remember which episode that was from… Thanks for sharing your secrets!
Nicole says
I hear you, Ligea. It’s not worth trying to shove a square peg into a round hole. You’ll just make yourself mad. :)
xoxo Nicole
Linda Stoddard says
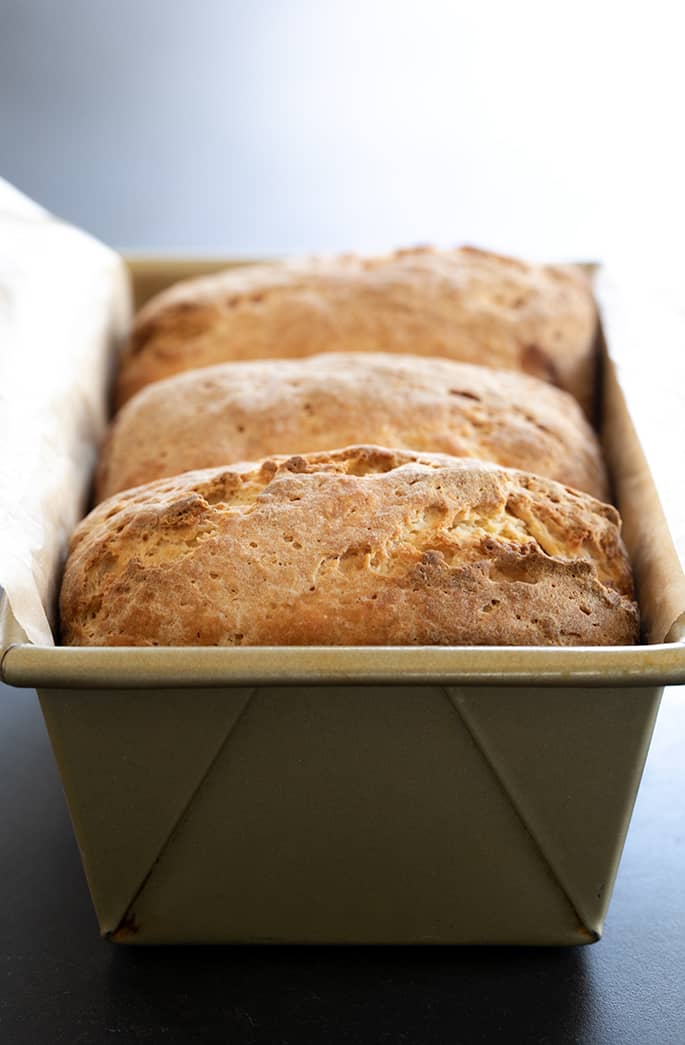
Girl, this is some fine-looking bread. Better yet that it’s resting on a retro kitchen towel. The tips are appreciated. I’m waiting, too, for when you publish a book on bread. Just bread. And only bread. I see it coming. xoxLinda
Nicole says
Thanks, Linda!
Oh how I would love to do a gf bread book. From your lips/fingertips… ;)
xoxo Nikki
Jen says
No. Seriously. A GF bread book. For the love of all things Hoagie, a GF bread book!
Nicole says
Hi, Jen!
Believe me when I tell you that I would love nothing more! If I could dig in to breads, and create every variety under the sun, I’d be a happy writer.
And – hoagie? You must be a Philly girl!
xoxo Nicole
Jenn says
Your Japanese milk bread was (is) the first GF bread recipe I’ve made, and I love it so much! Our kids who are not GF ask for it even though they can eat “real” bread. It is so good toasted that I have to make a double batch each time! Thank you so much.
Nicole says
Hi, Jenn,
That’s so great! It’s the absolute best when kids (especially those who aren’t even GF) love the gluten-free food we make, isn’t it? Thanks for letting me know!
xoxo Nicole
Jen says
Thank you so much. Just a quick question/request…#2 states to make by volume not weight…however the French bread recipe is by weight not volume. Any advice on how to convert weights to volume?
Nicole says
I think you may have misread it, Jen. It says to bake by weight, not by volume. I added the corresponding weight measurements to the French bread recipe, though. Good catch!
xoxo Nicole
Gluten Free on a Shoestring on Facebook says
I know, Samantha Hodge! That bread is magic. I don’t fully understand its powers. :)
Pamela G says
Ok, Nicole….I need a little assistance….what temperature do you usually use your proofer at? I made a disaster loaf the other day (trying to use up another flour mix) and was anxious because it didn’t raise properly. Unfortunately, the instructions with the unit aren’t really clear as to what temp to use. I do so want to make the nicest breads…
Thank you in advance – Pam
Nicole says
Hi, Pam,
Don’t worry. You’ll get there.
I set my proofer to between 85 and 87 degrees F. It will rise anywhere between about 70 degrees and about 110 degrees, albeit slower or faster. 85 to 87 degrees F is a good medium.
Sounds like your issue was with the flour. Especially if it was King Arthur, I’m sorry to say. It’s useless in yeast bread.
xoxo Nicole
Pamela G says
Thanks, Nicole..no, it was another ‘blend’ reccommended by someone else. It was just toooo soft to support loft….and moisture. Thanks for the encouragement and information.
I am SURE Better Batter wins hands down! :)
Nicole says
The wrong flour can ruin everything, Pam. :( Well, at least now you know for sure.
xoxo Nicole
Samantha Hodge on Facebook says
Your sandwich bread has magical powers. It has never let me down. :)
Jonie Spetter on Facebook says
My breads (and I’ve tried lots of recipes) always feel like they’re going to choke you. They are usually very crumbly and feel so dry in the mouth. Is this just gluten free bread or something I’m doing wrong?
MaryAnn Simkewicz on Facebook says
Thank you for this – I’ve tried once so far and it was an epic fail – need to get my self a scale and oven thermometer. I did use a milk substitute too – wonder if that worked against me. What is your feeling on bread machines? I don’t have one, but have thought about getting one.
Niki Moen on Facebook says
THANK YOU!!! The only bread I’ve made successfully is from a mix!! I can’t get it right! :-(